Tutorial: How to Run a Dogecoin Full Node
Before you start, here’s what you’ll need:
- A computer that can stay online 24/7 (to keep your node running).
- A stable, unmetered internet connection (no data caps).
- At least 250 GB of free disk space for the Dogecoin blockchain (but 1 TB is recommended so you don’t run out of space later).
💡 Don’t worry, you don’t need a supercomputer. A regular desktop or laptop is enough, as long as it has enough storage and a reliable internet connection.
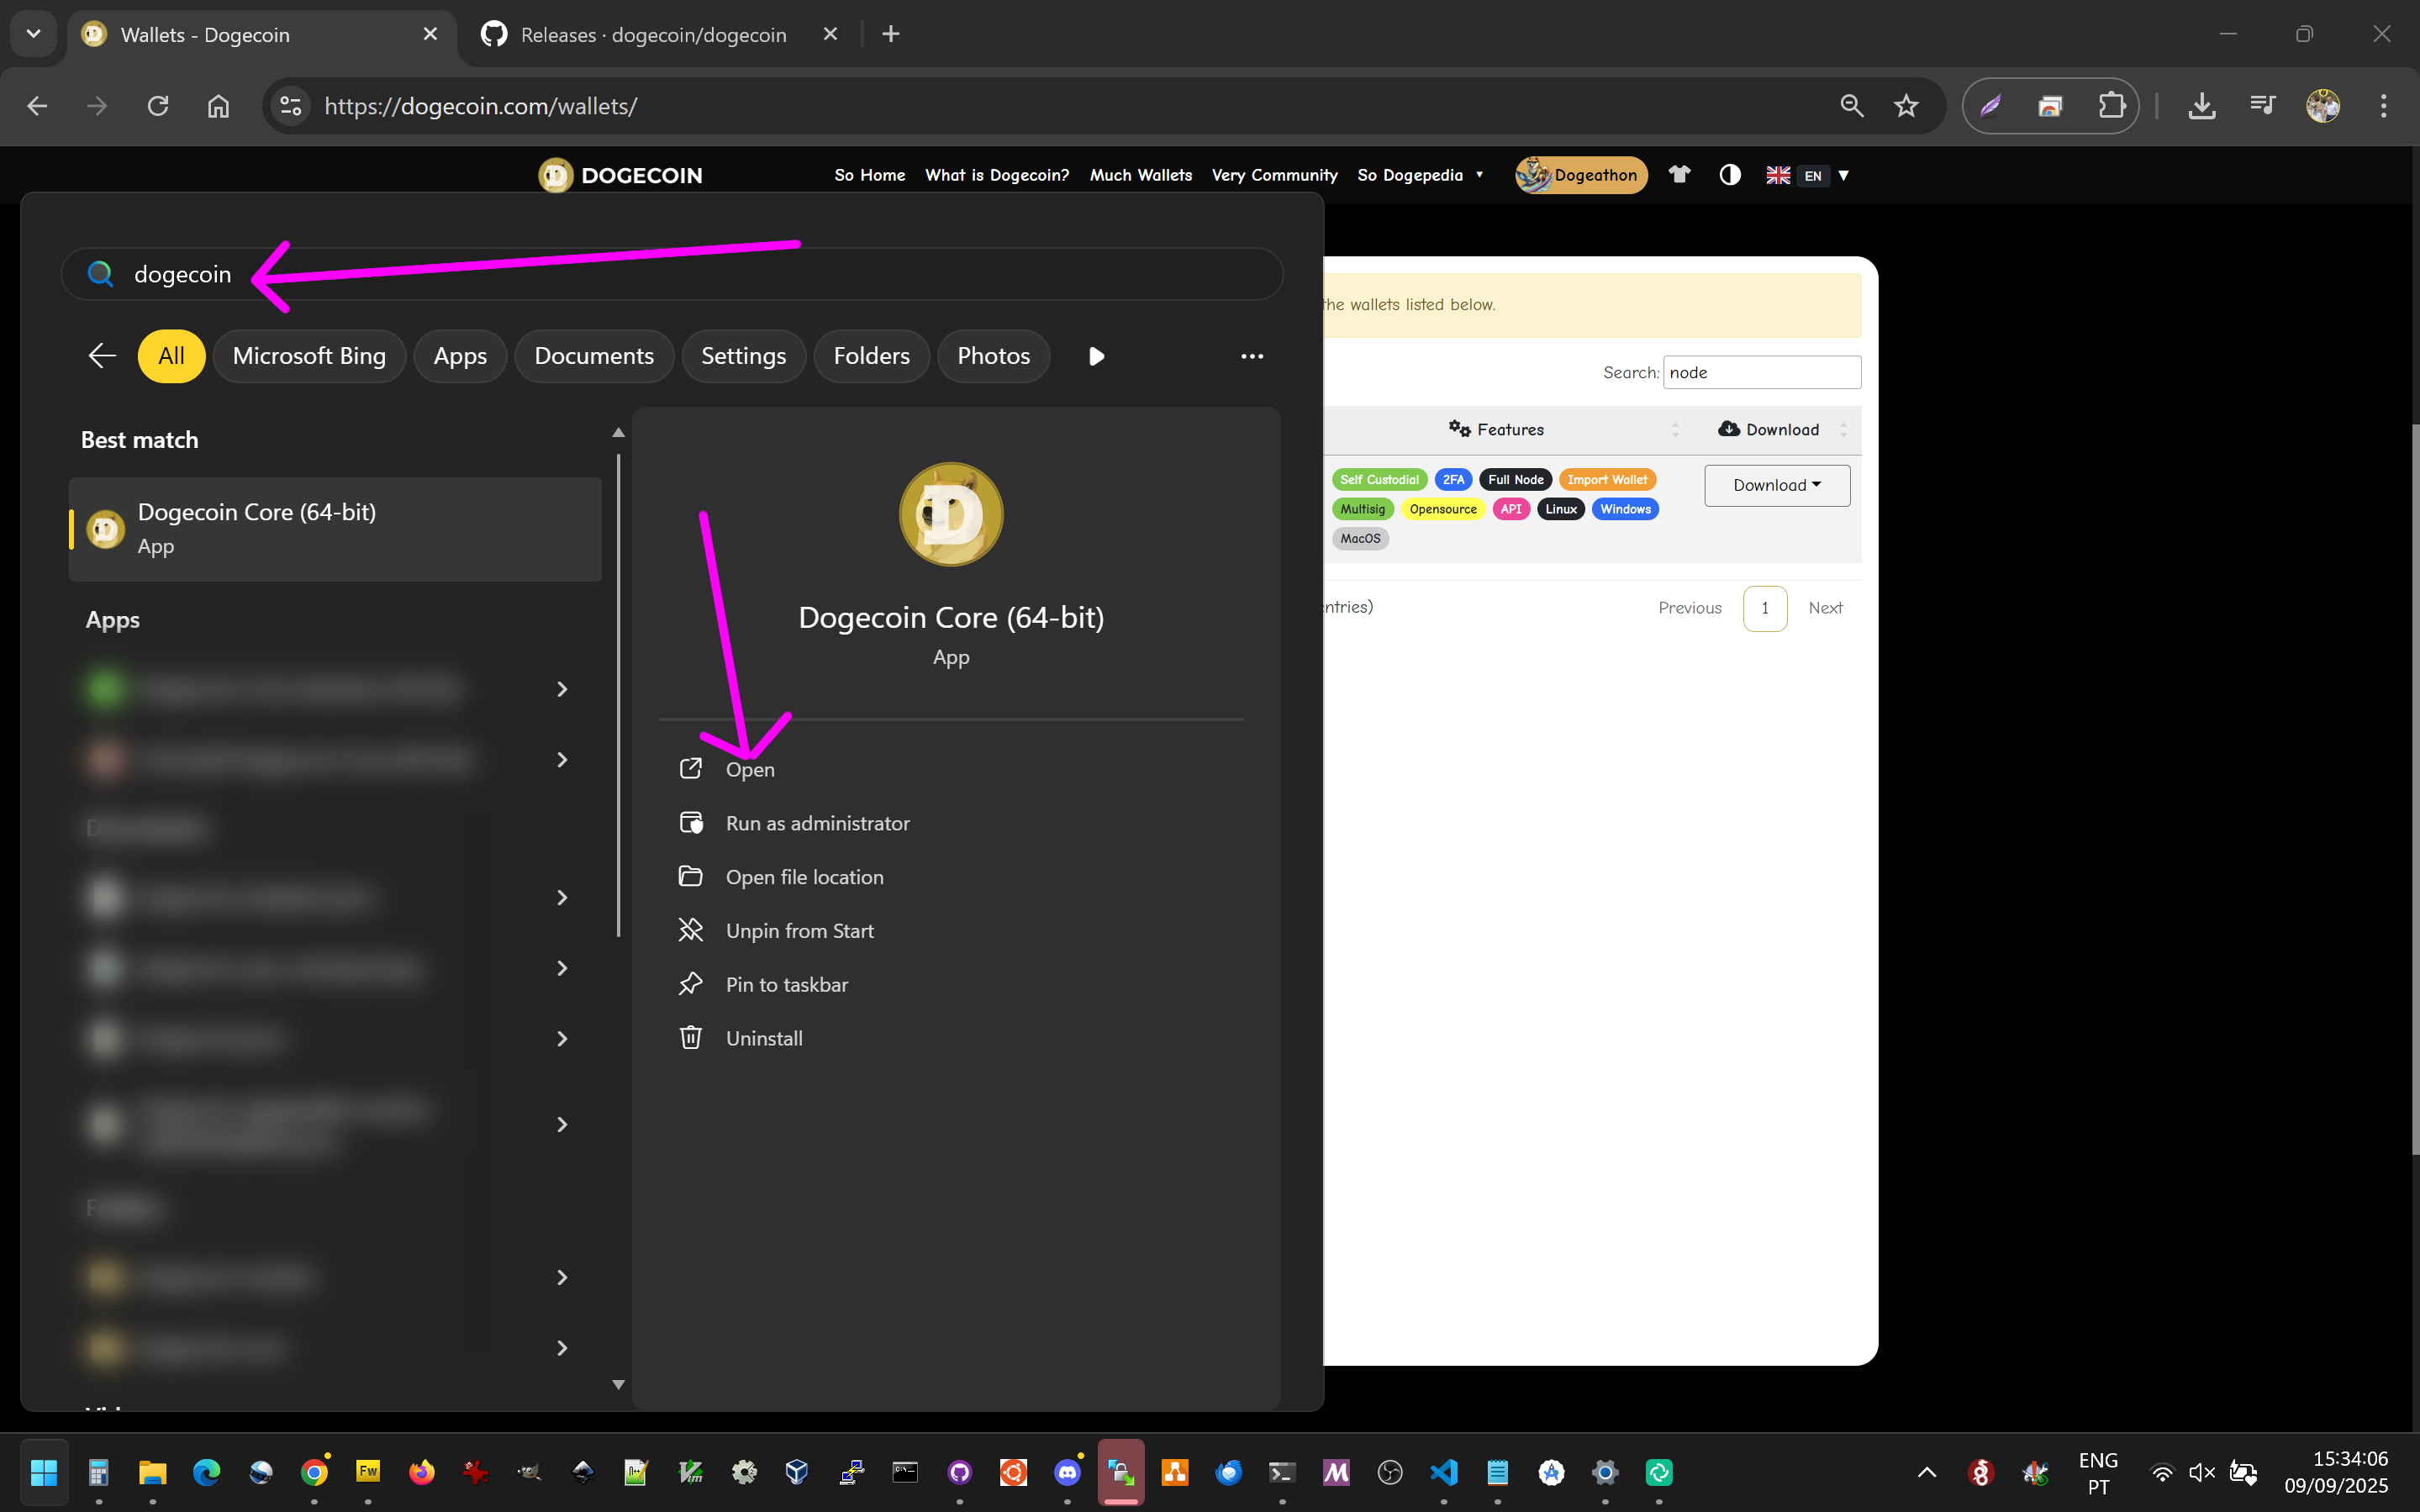
Go to https://dogecoin.com.
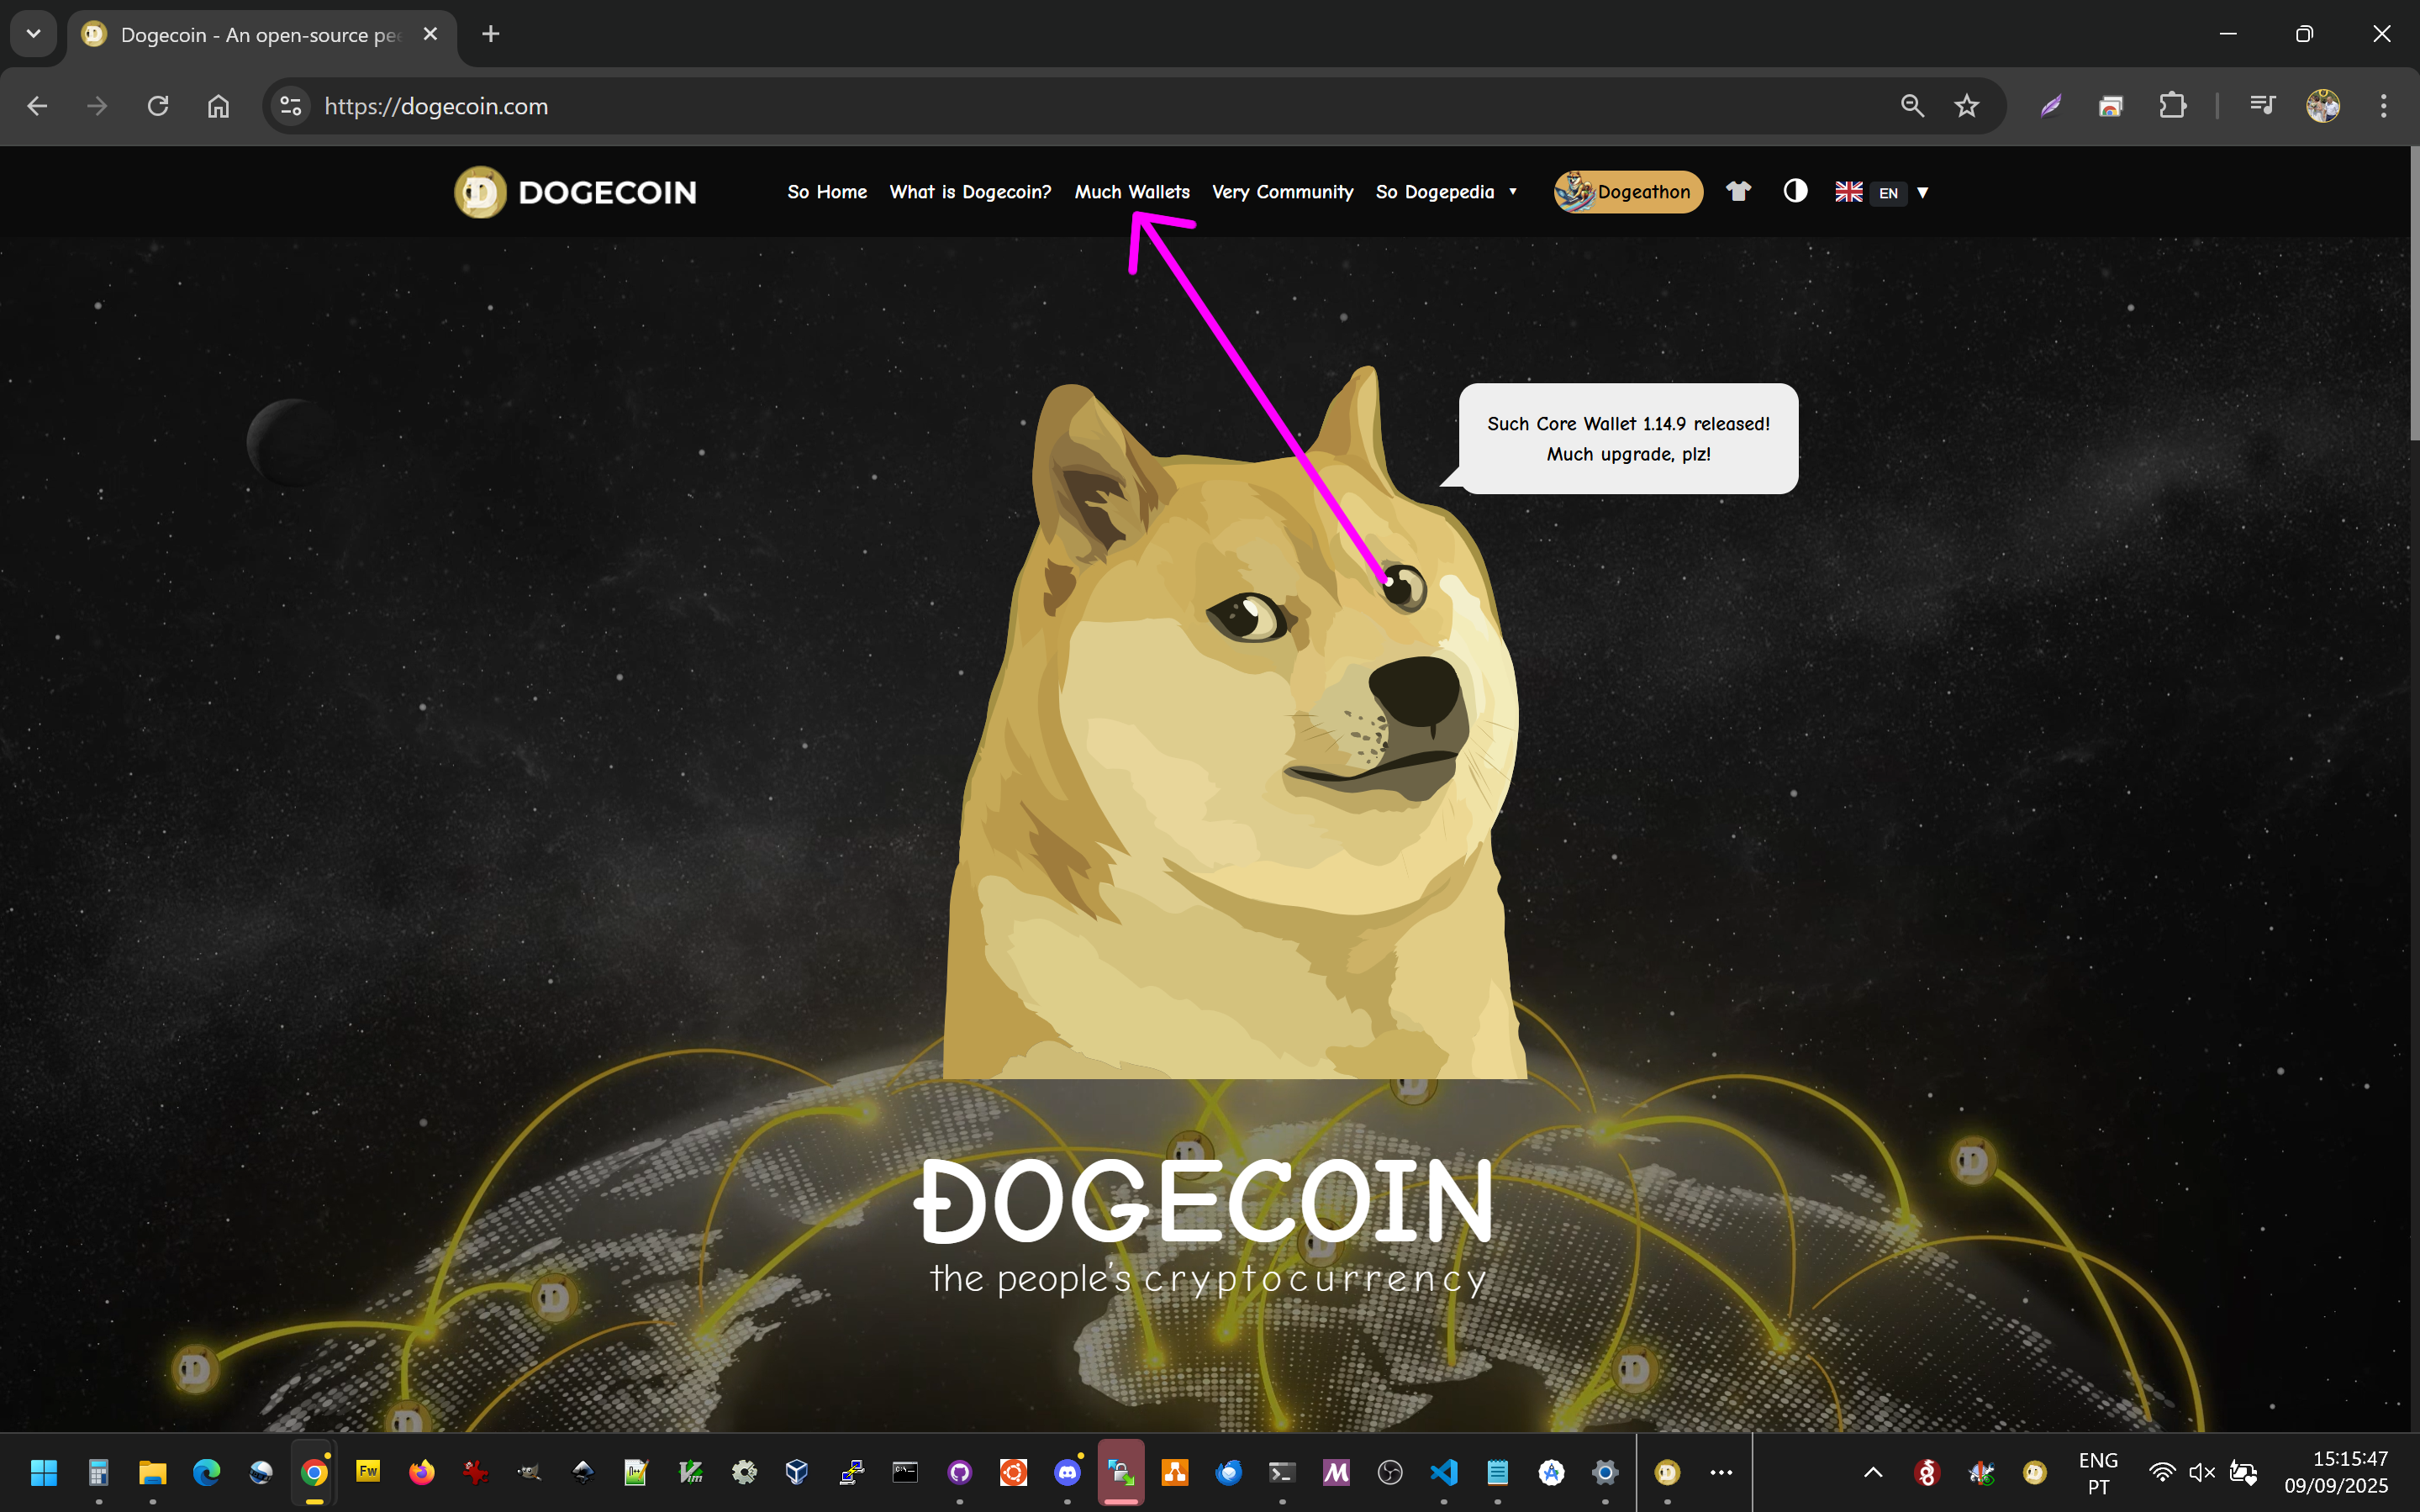
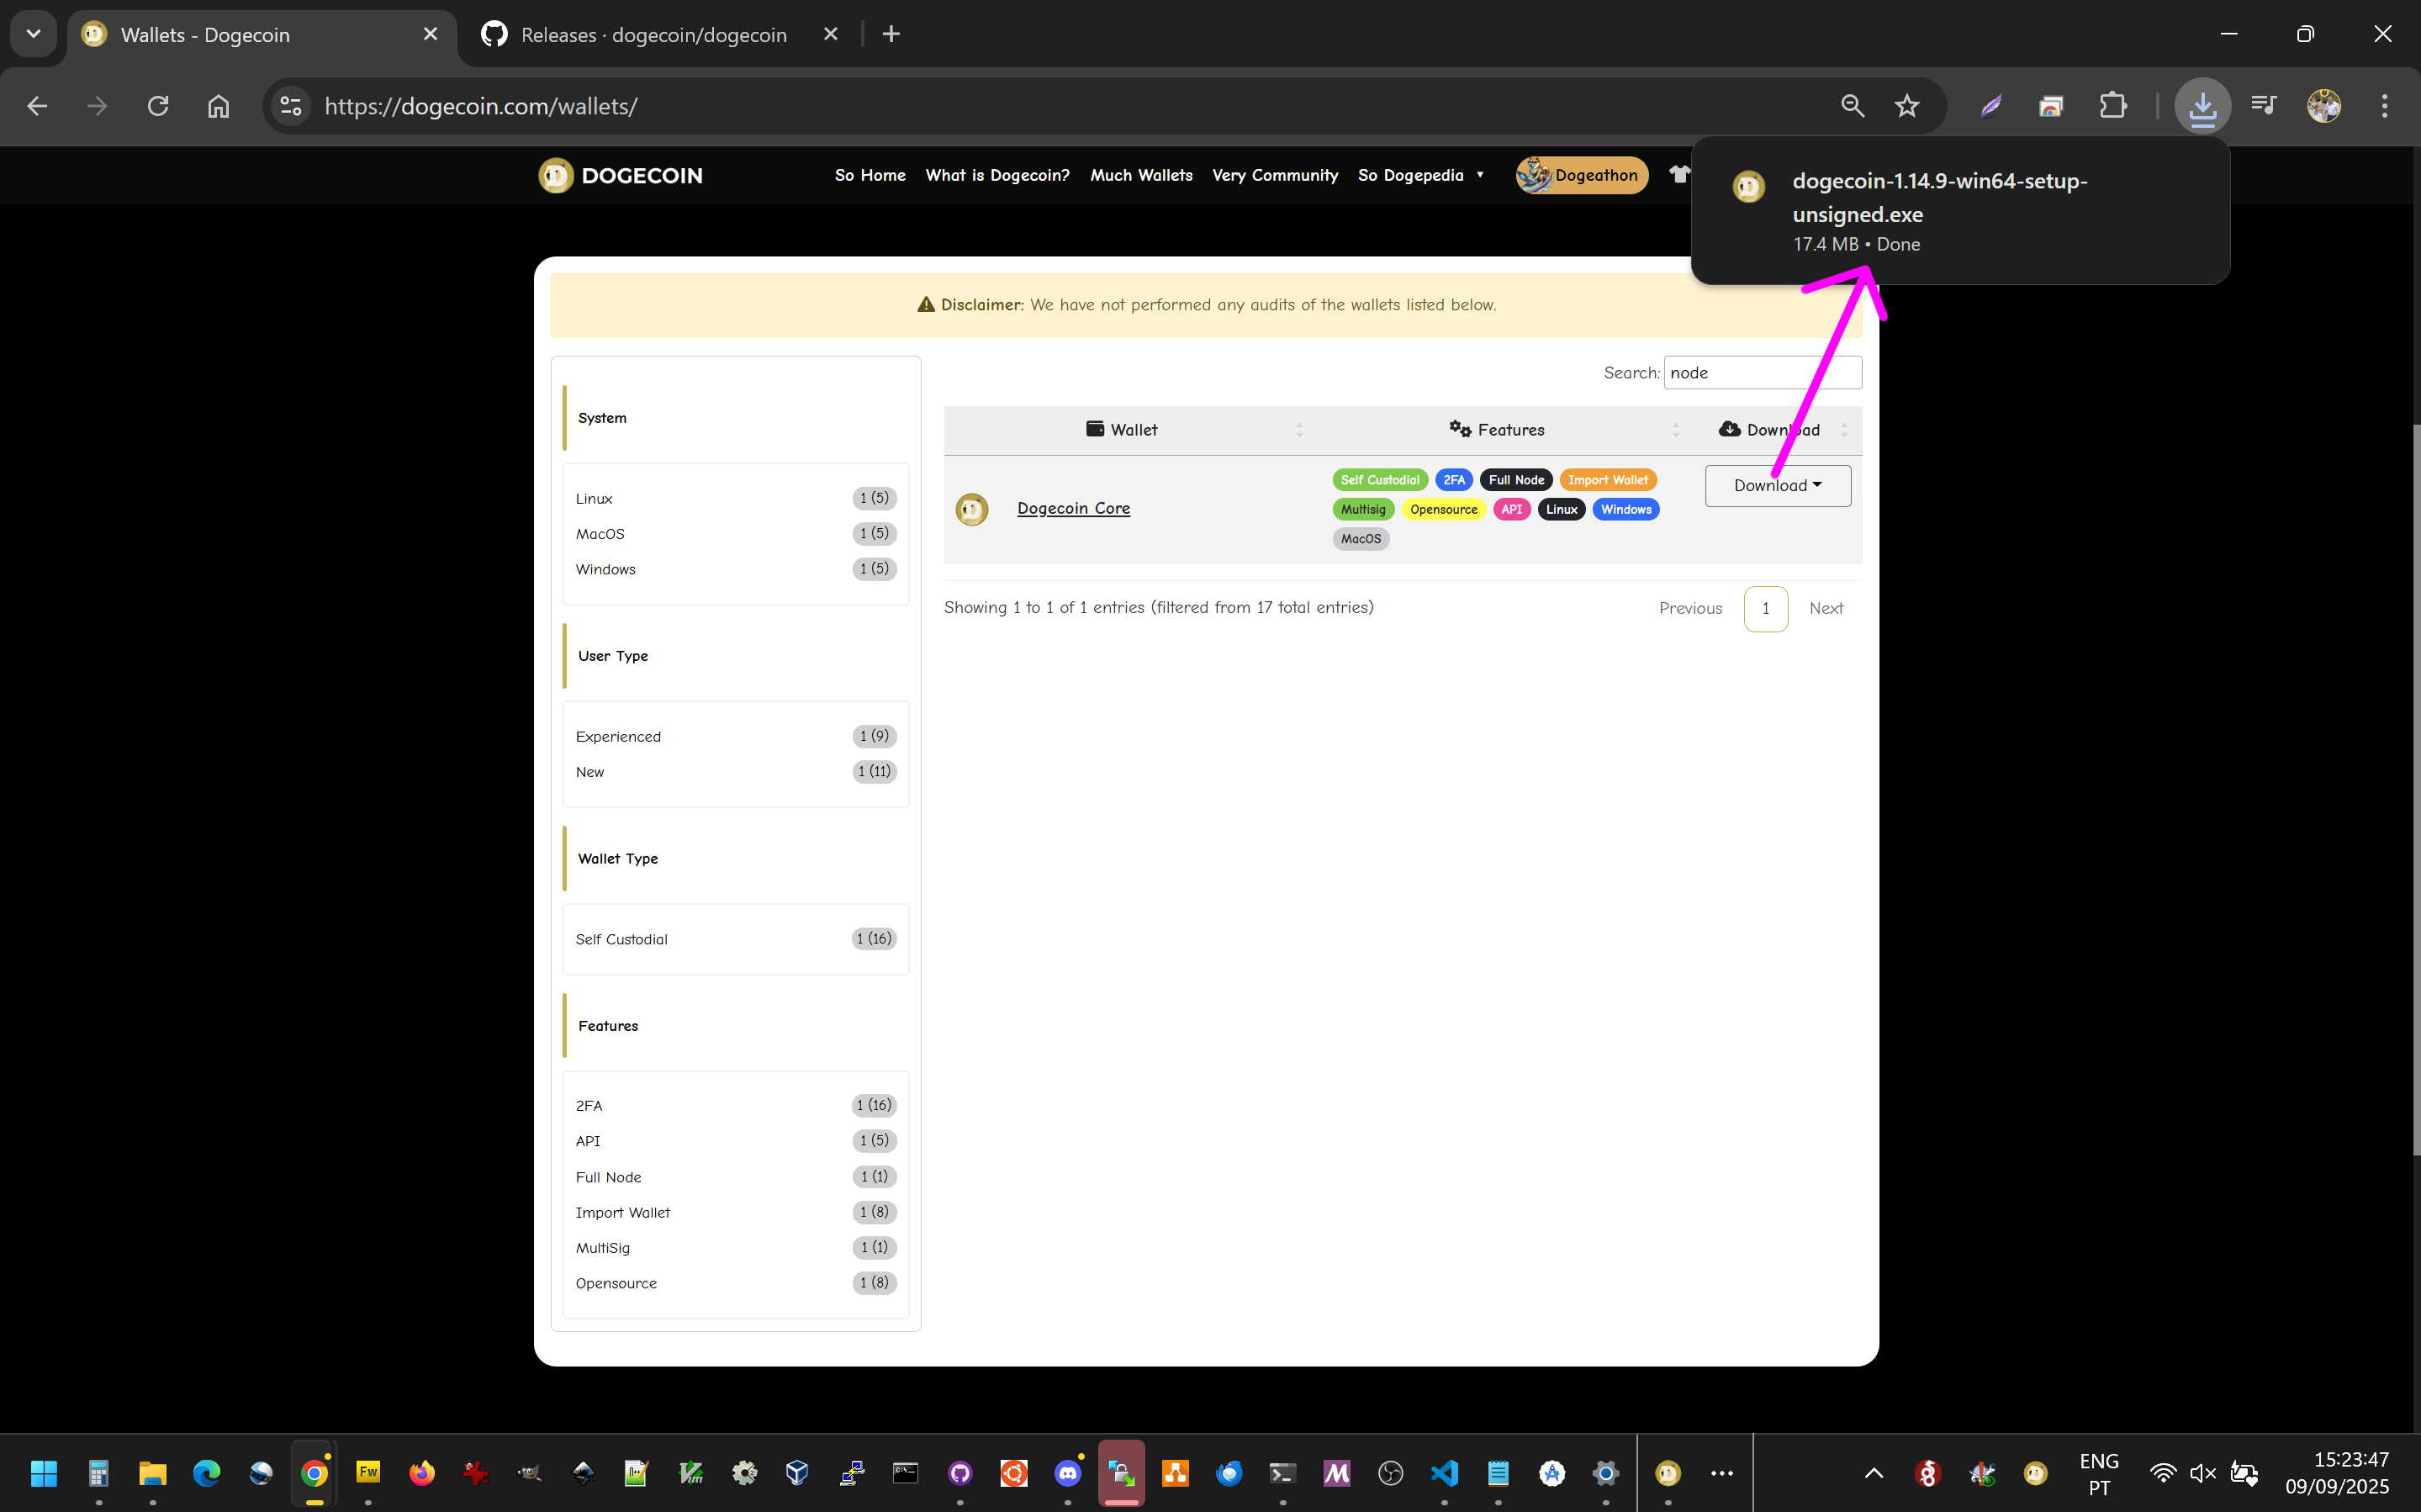
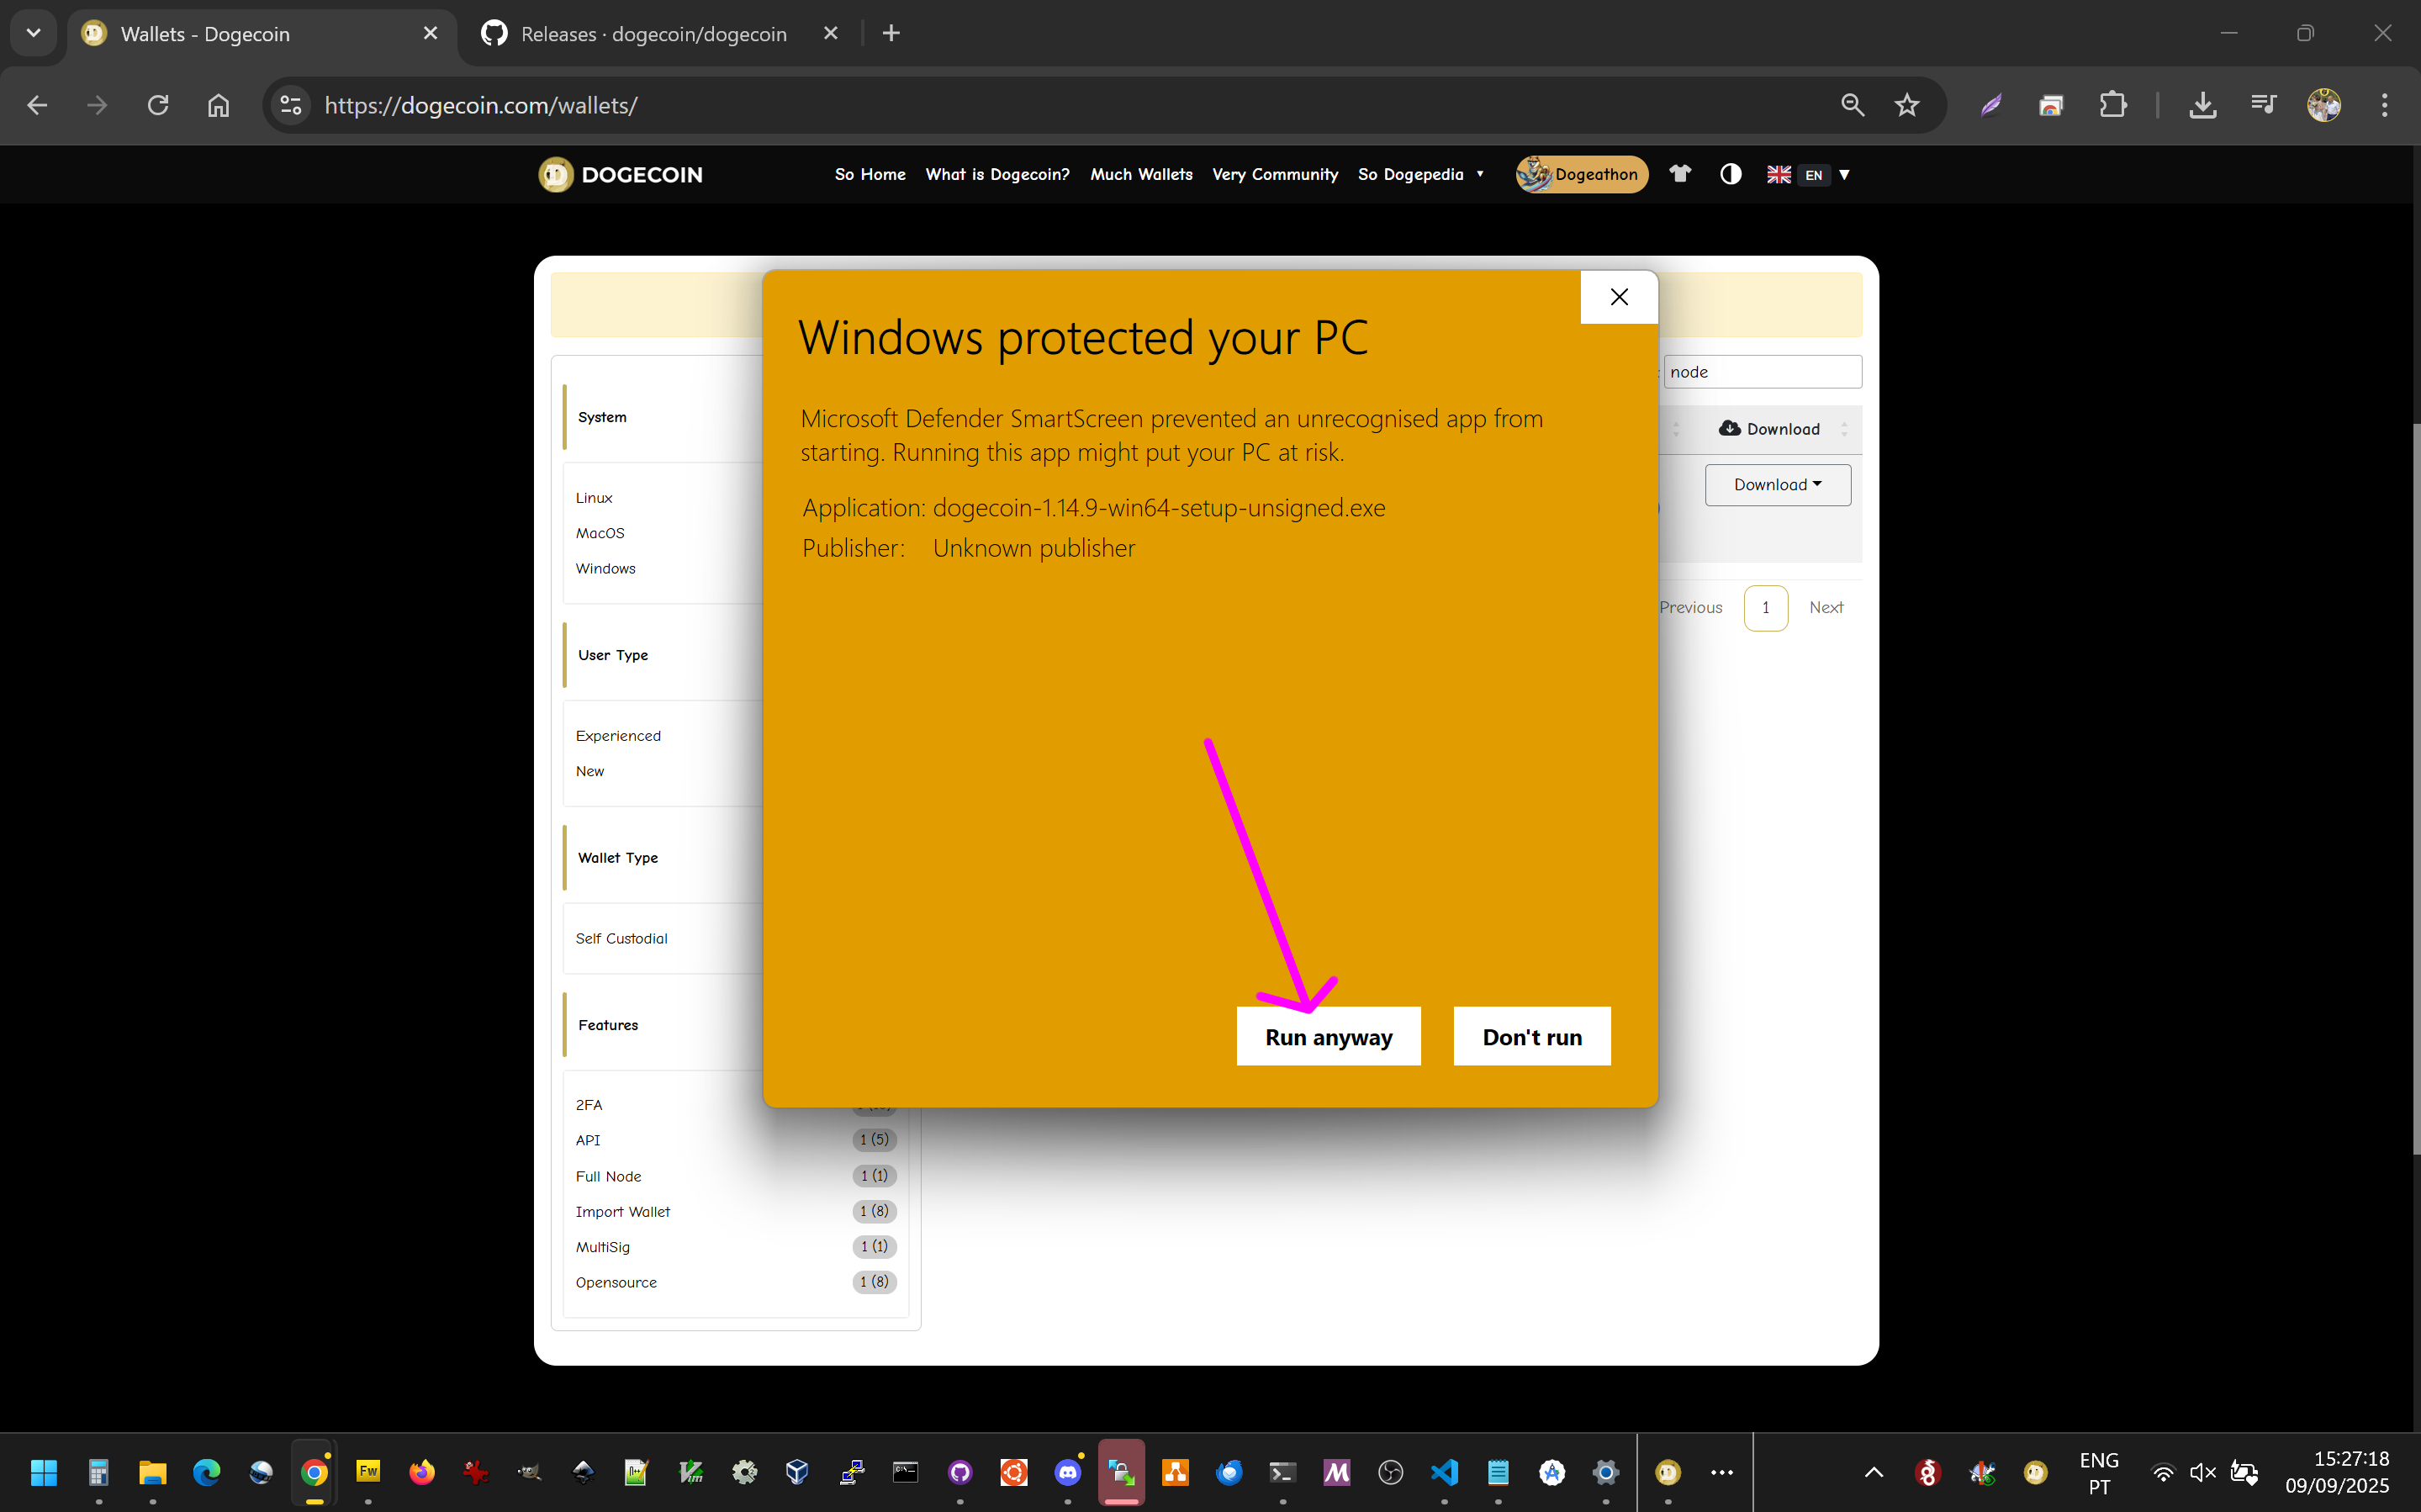
Search for Node, then click Download and choose the version for your operating system (Windows, Linux, or macOS).

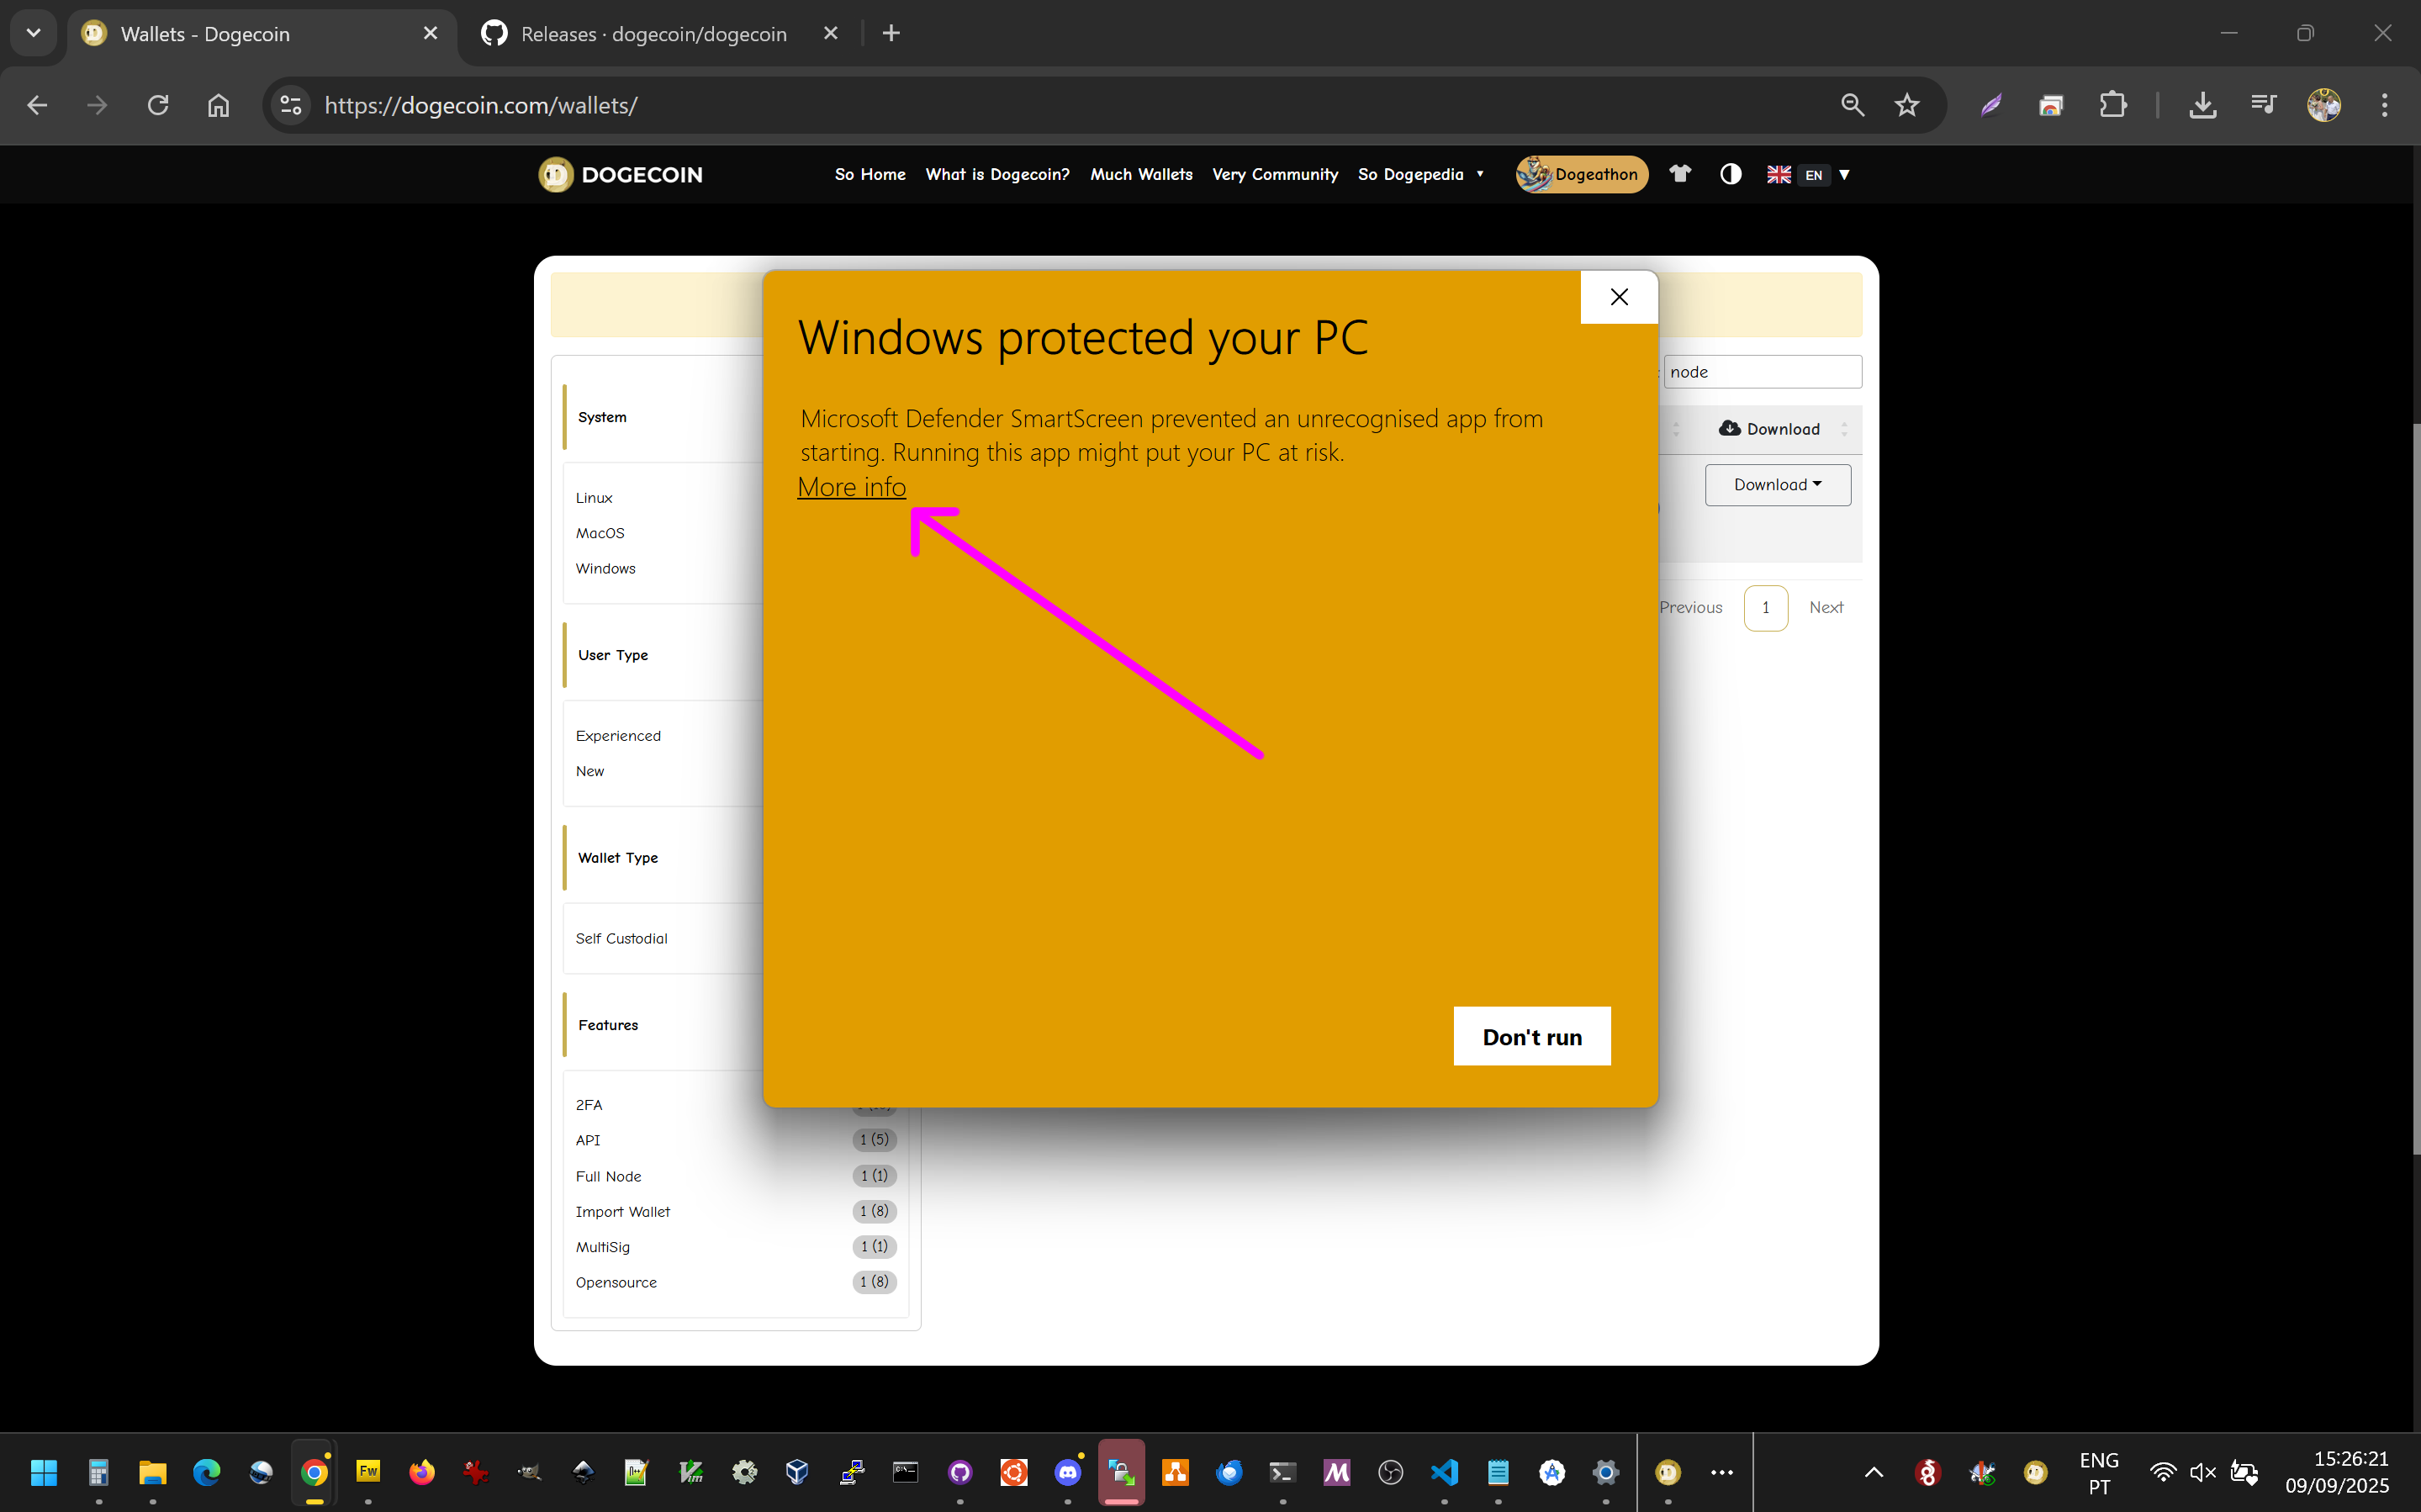
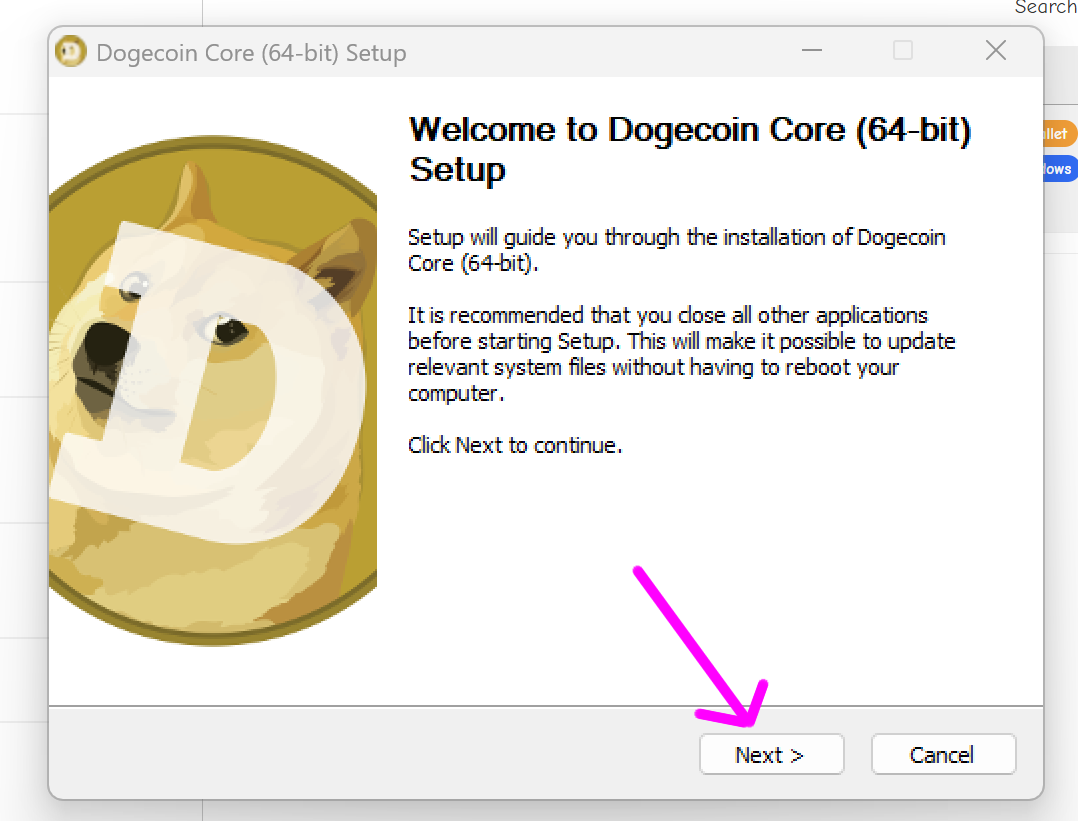
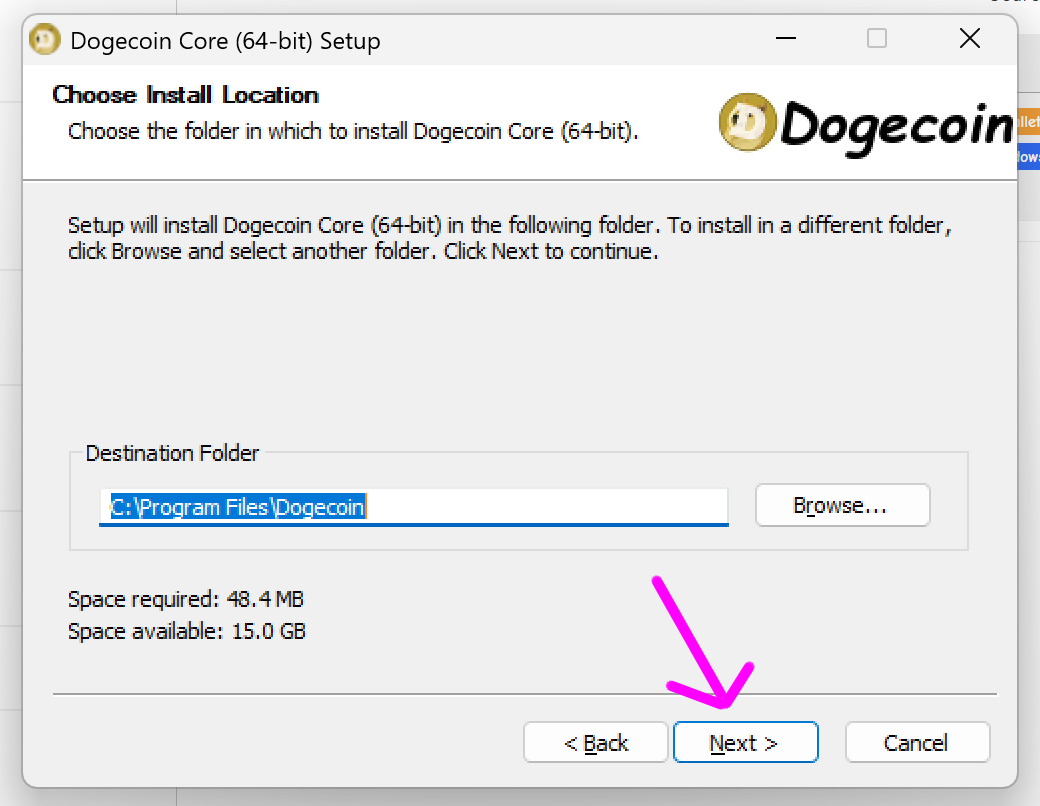
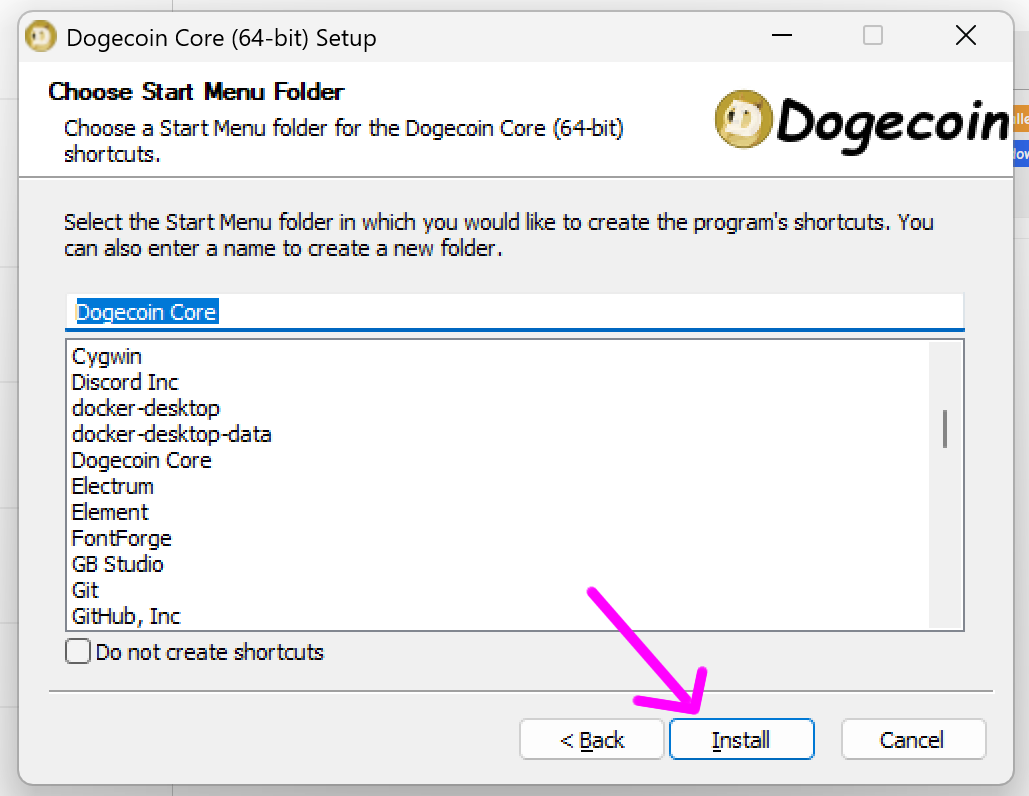
Open the Dogecoin Core installation file to start the installation.
- On Windows, you may see an unsigned warning. This is normal since the installer isn’t signed.
Click More info, then Run anyway.
Follow the steps by clicking Next until the installation is complete.
Open Dogecoin Core.
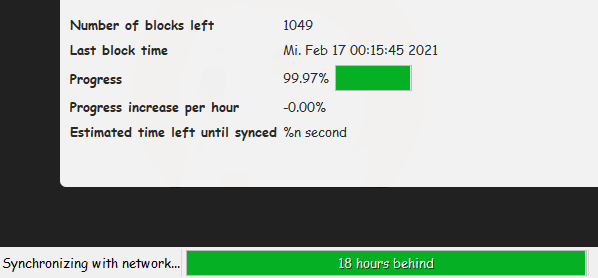
- The first time you run it, it will take several hours to fully sync with the blockchain. Be patient—go have a coffee, play a game, or watch a movie while it finishes.
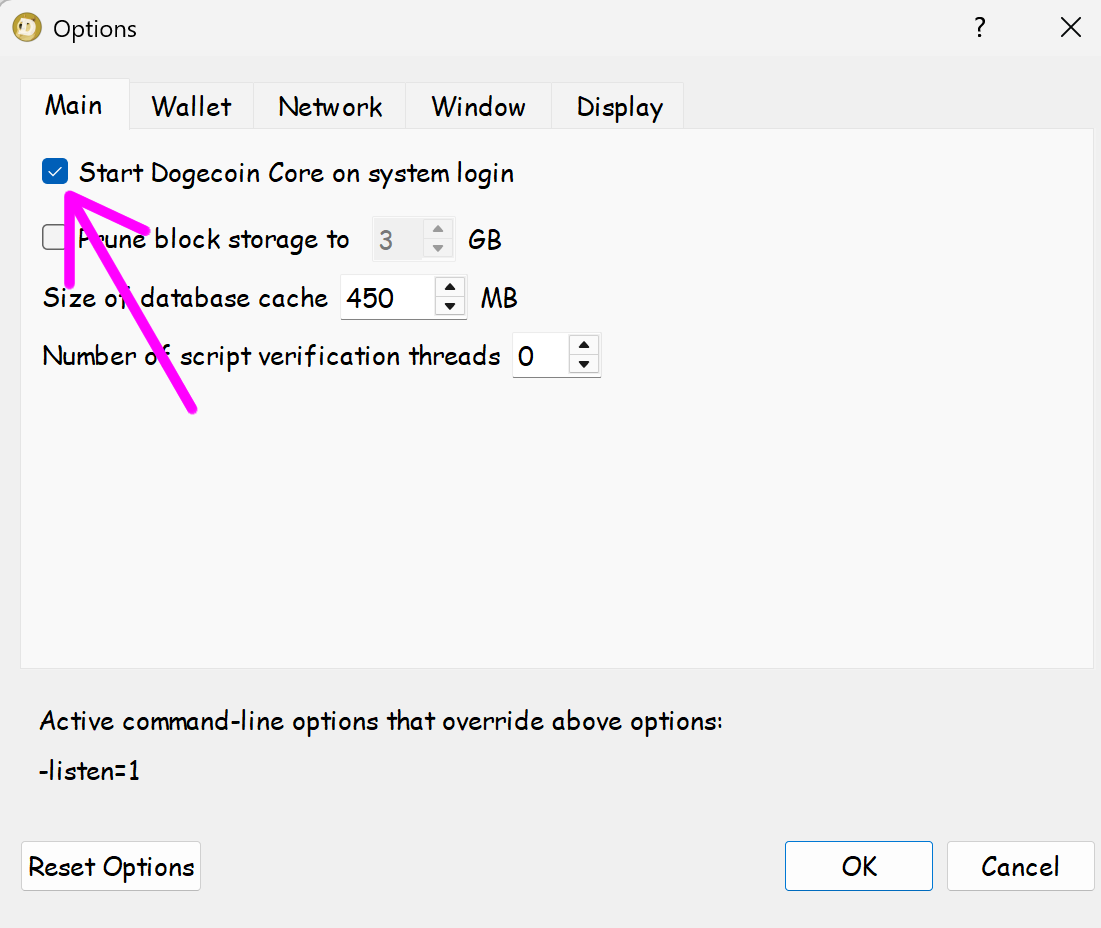
Once syncing is complete, go to Settings → Options → Main and check Start Dogecoin Core on system login.

Then go to Settings → Options → Network and check both:
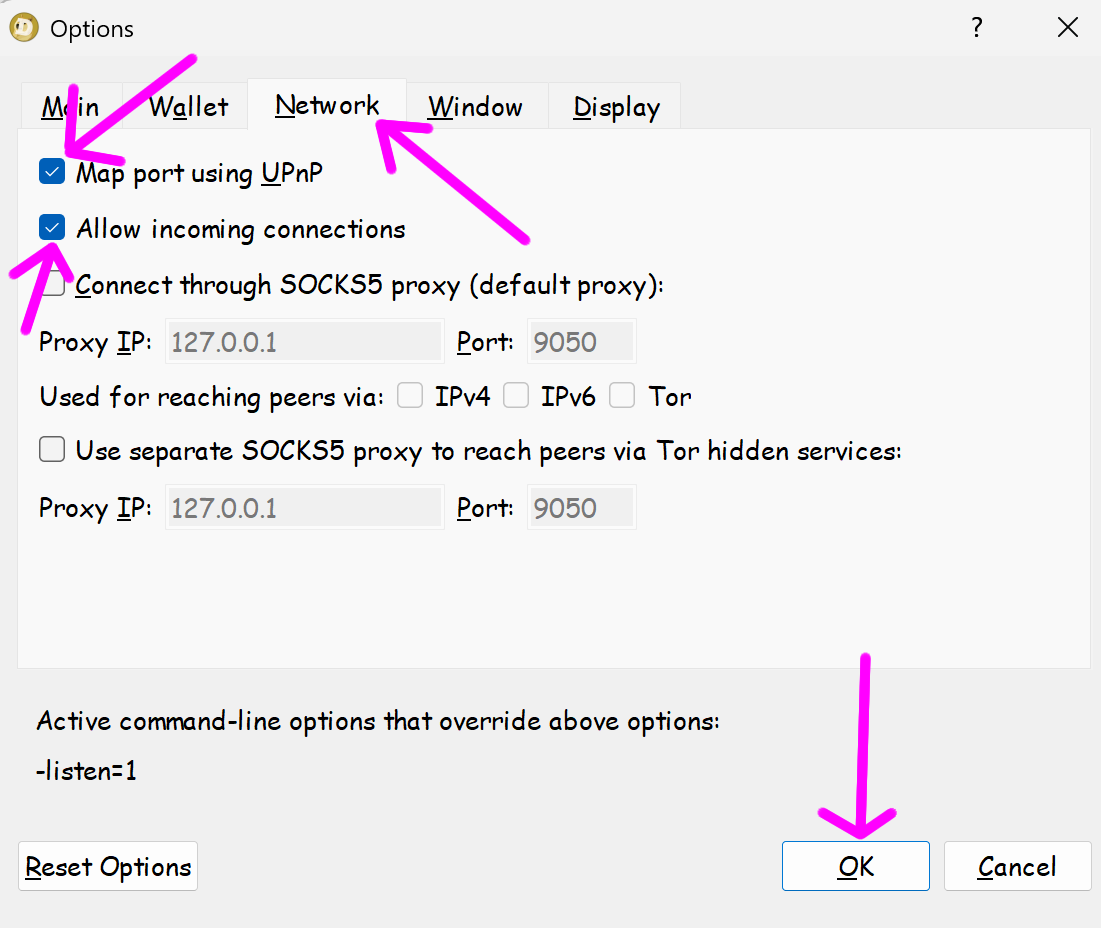
- Map port using UPnP
- Allow incoming connections
Finally, click OK.
Wait a few minutes, then go to Settings → Debug Window → Information.
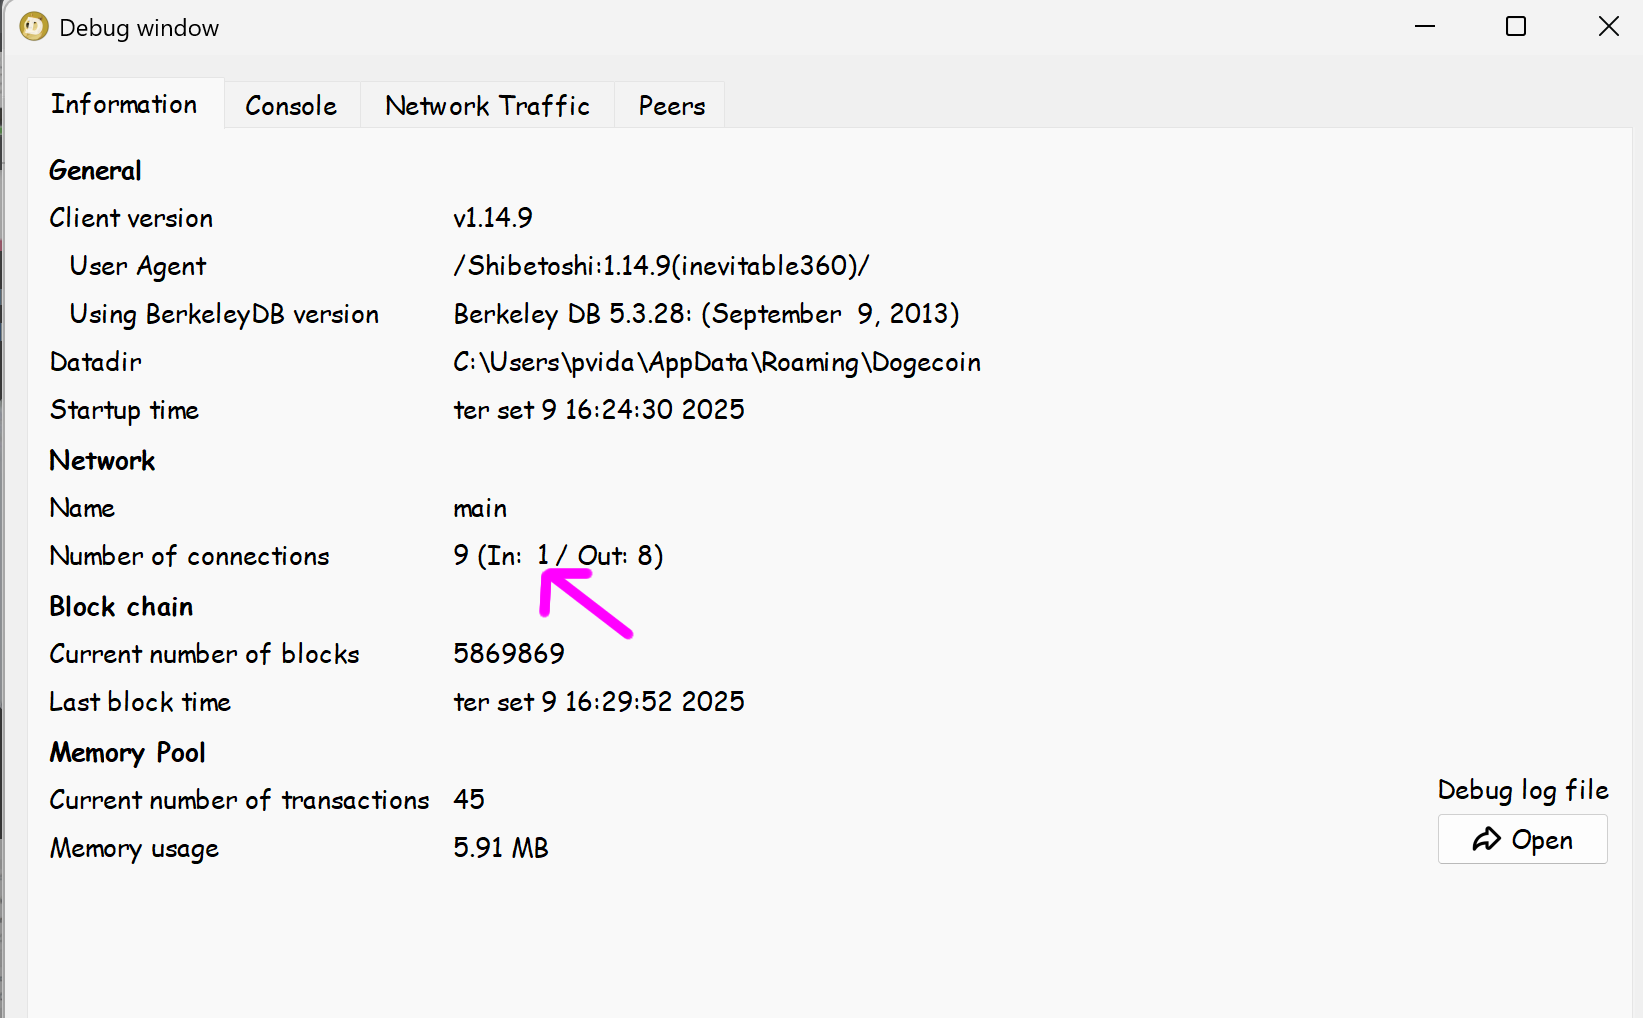
- Look at Number of Connections.
- Both In: and Out: must be greater than 0.
- If either shows 0, follow the next tutorial below (How to Open Port 22556 for the Dogecoin Full Node to Work).
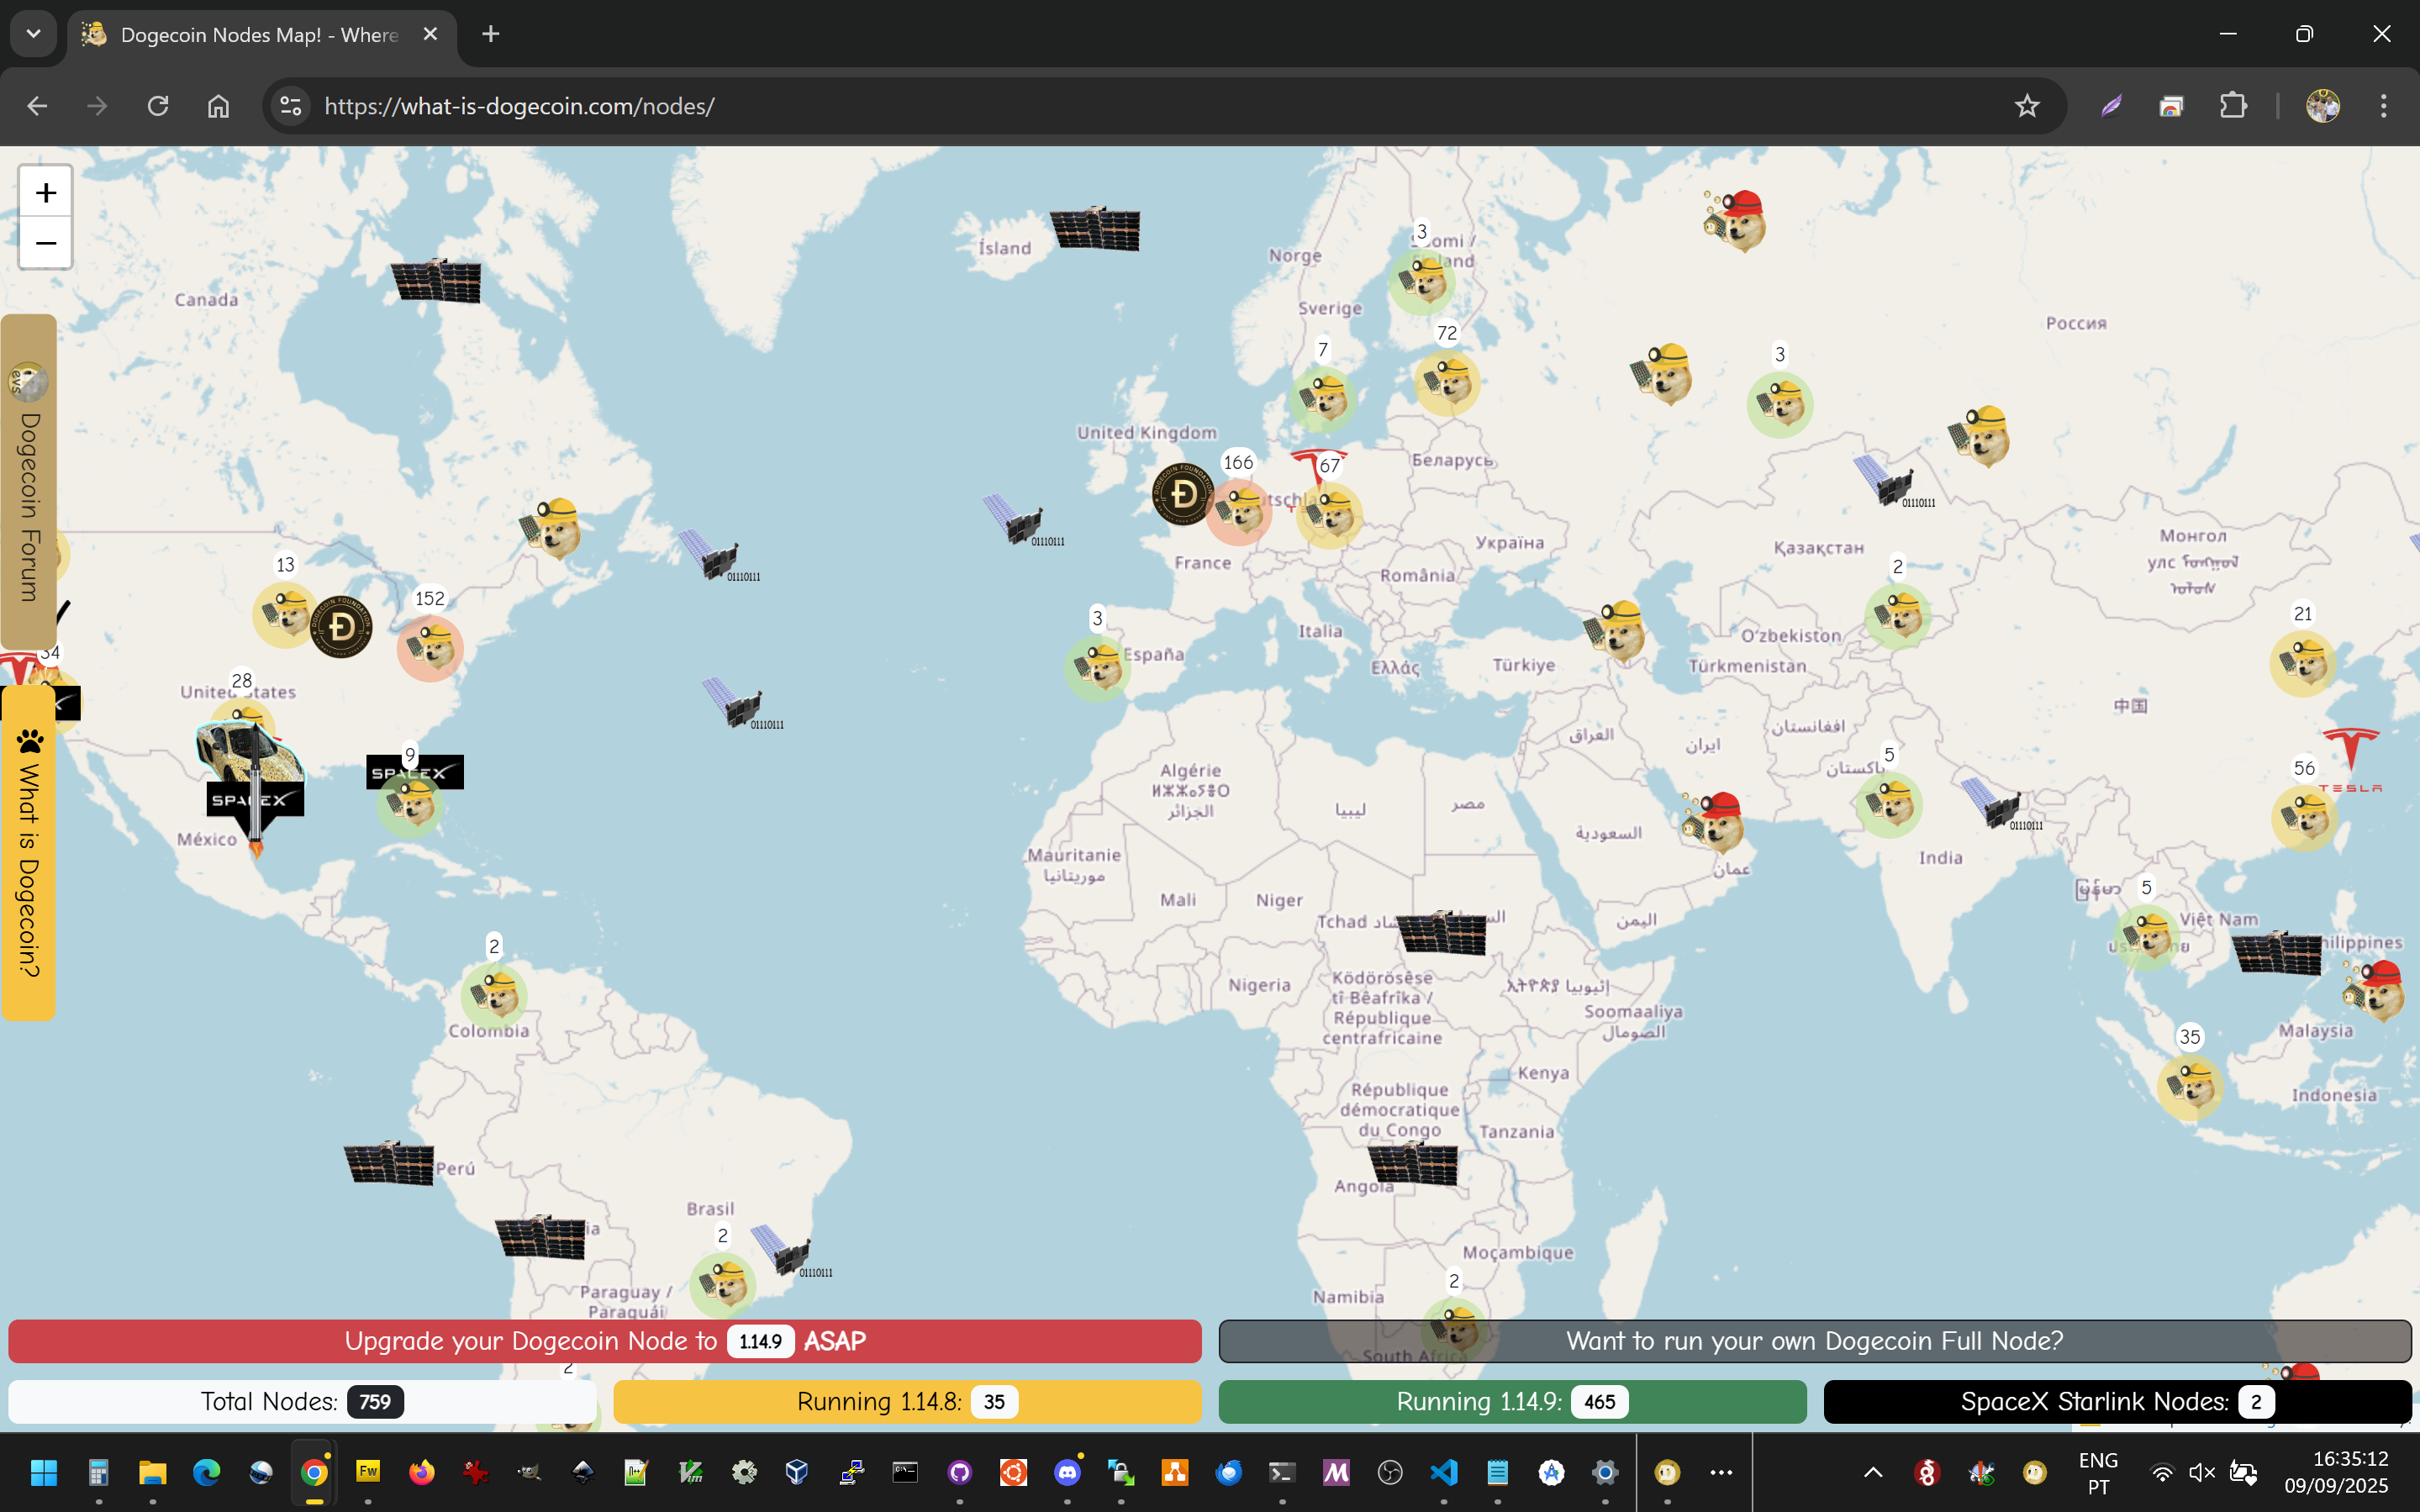
- If both are greater than 0, your node is running successfully. 🎉 Congratulations, you are now part of the Dogecoin Node Community, helping secure and support the Dogecoin blockchain!
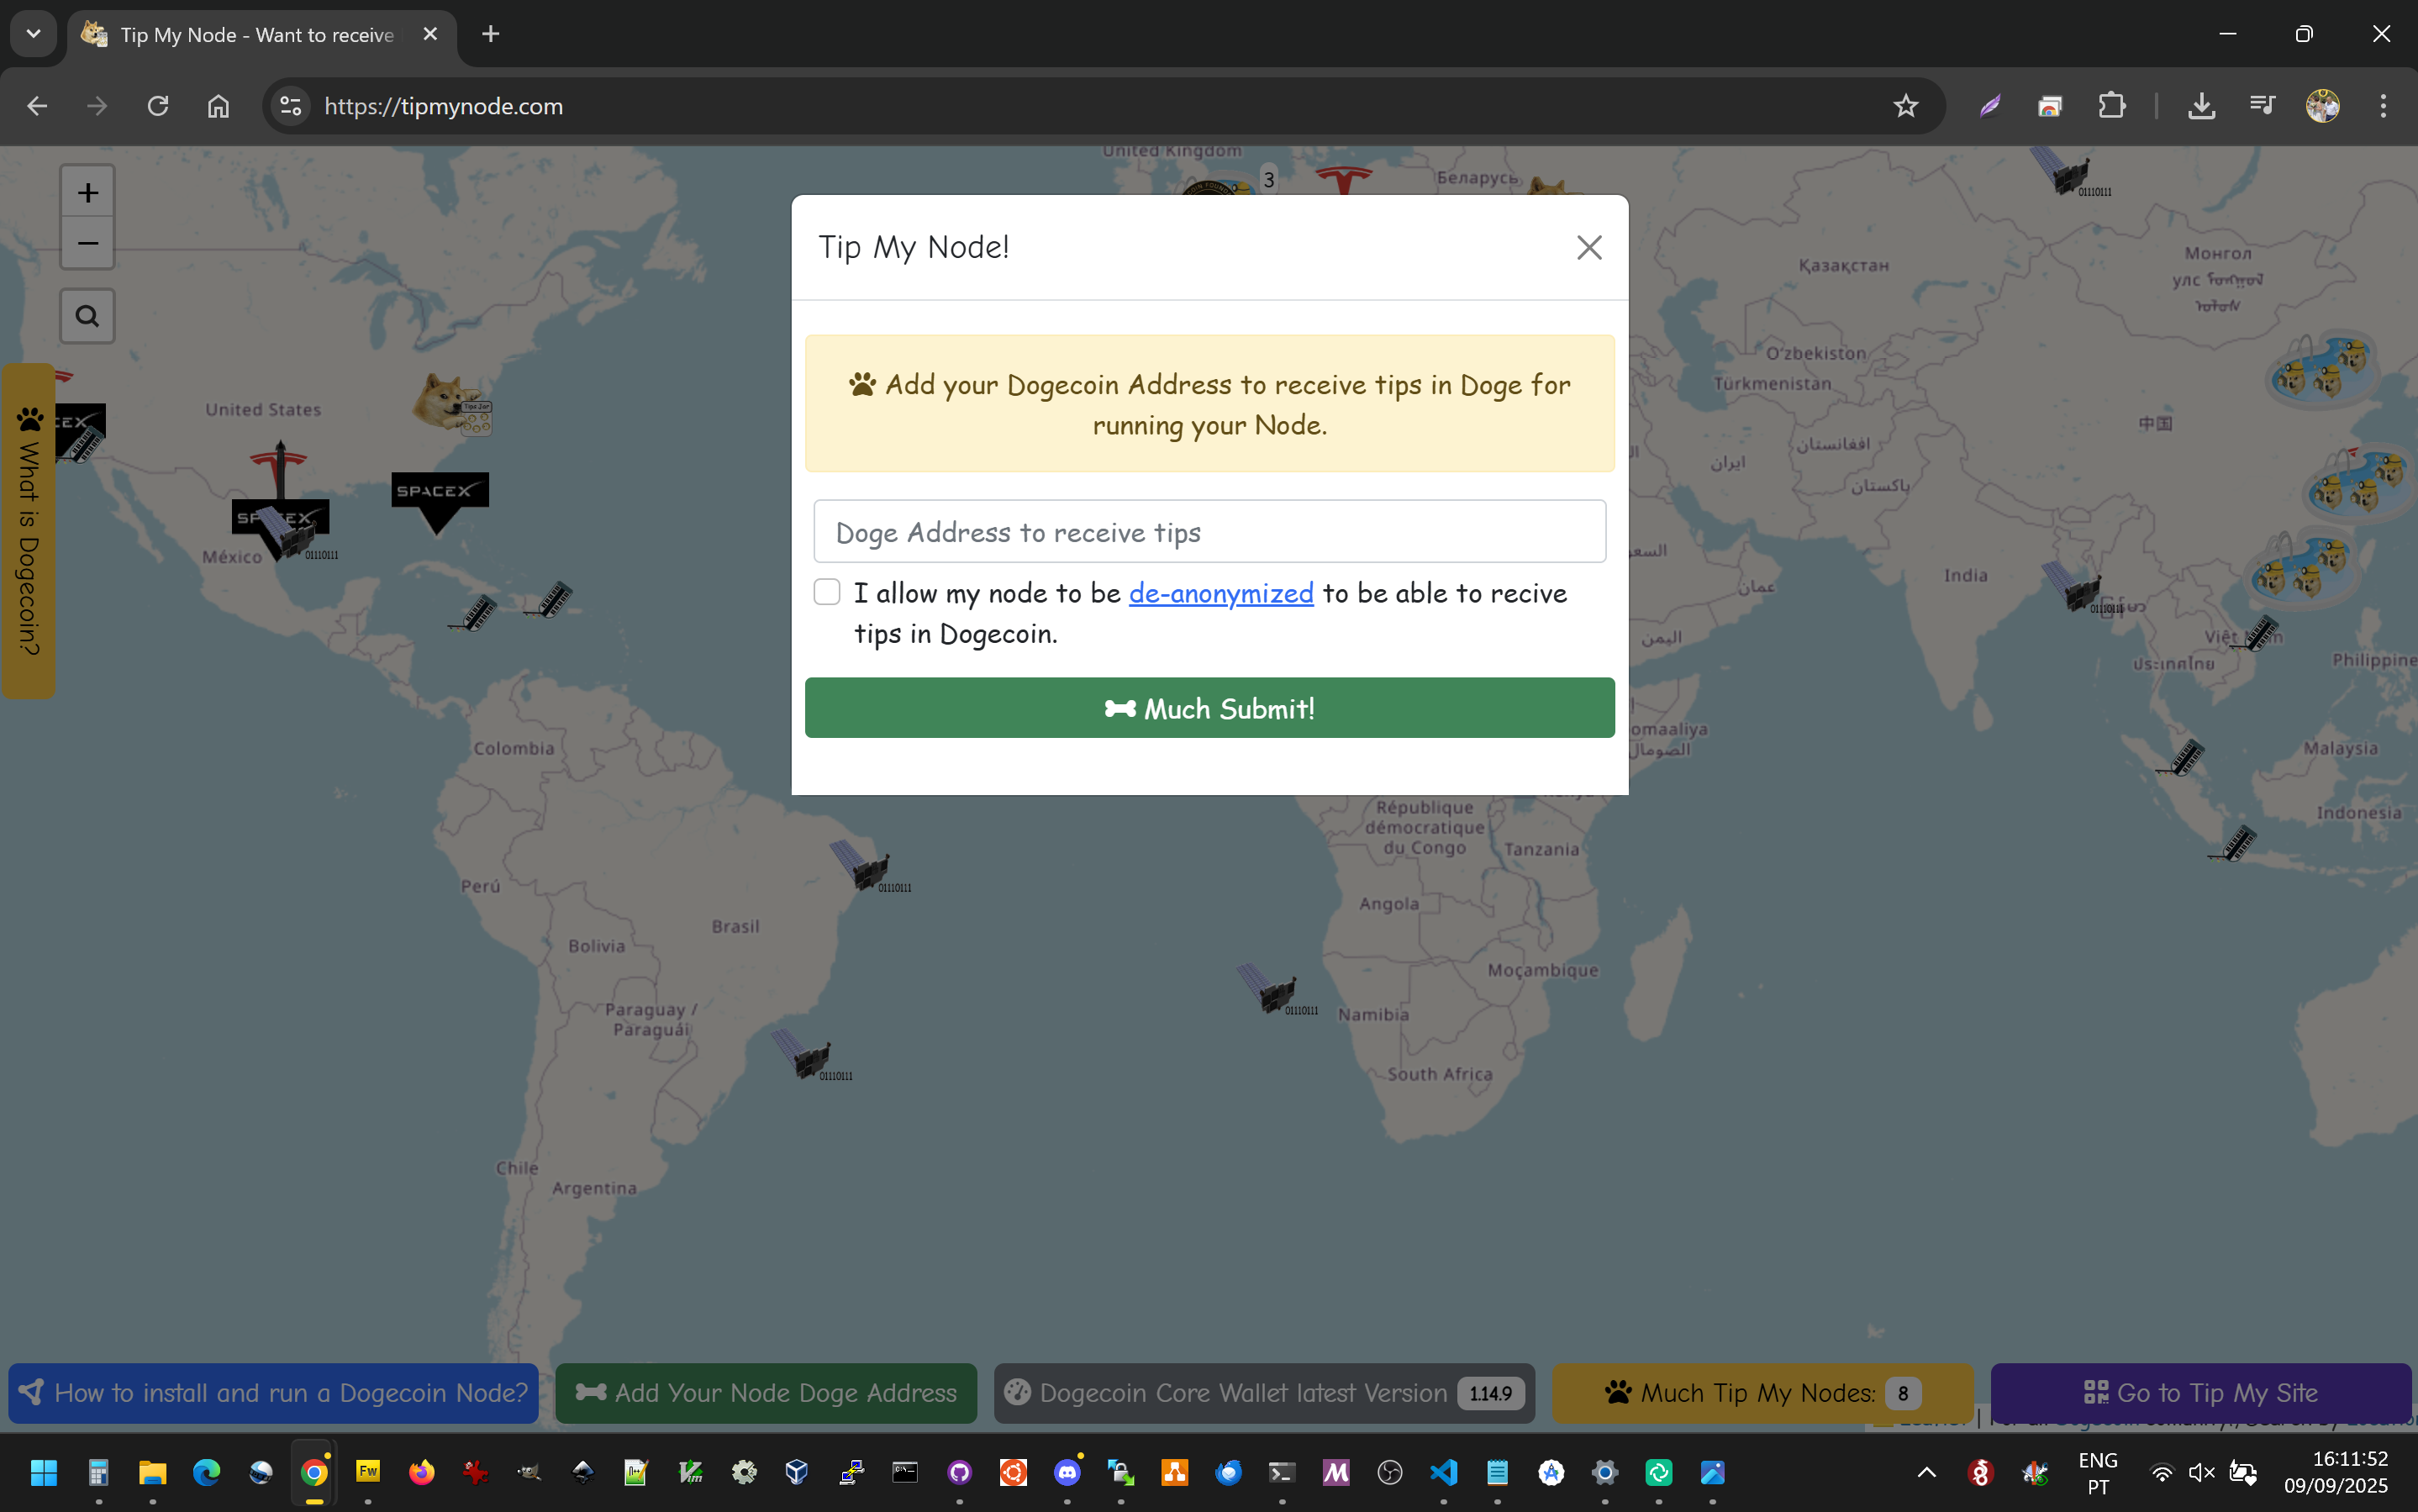
💡 Tip: Want your Dogecoin node to receive tips in DOGE? Visit https://tipmynode.com/.
How to Open Port 22556 for the Dogecoin Full Node work?
1. For Windows
Open Windows Firewall settings
- Press
Win + R, type wf.msc, and press Enter.
In the left menu, click Inbound Rules.
On the right, click New Rule…
Choose Port → click Next.
Select TCP, and enter:
22556
Choose Allow the connection → click Next.
Select Domain, Private, Public (or just Private if at home).
Give it a name like Dogecoin Node 22556 → click Finish.
✅ Done! Now your Dogecoin node can accept peers.
2. For Linux (Ubuntu/Debian/RHEL/CentOS)
Using UFW (simple firewall manager):
sudo ufw allow 22556/tcp
sudo ufw reload
sudo ufw status
You should see 22556/tcp ALLOW.
Using firewalld (common on CentOS 7):
sudo firewall-cmd --permanent --add-port=22556/tcp
sudo firewall-cmd --reload
sudo firewall-cmd --list-ports
It should list 22556/tcp.
3. For macOS
macOS firewall is simpler:
Go to System Settings → Network → Firewall.
Make sure Firewall is ON.
Click Options… or Firewall Options….
Add your Dogecoin Core app (the .app or binary you run).
If you want manual port opening (advanced):
sudo pfctl -f /etc/pf.conf
sudo echo "pass in proto tcp from any to any port 22556" | sudo tee -a /etc/pf.conf
sudo pfctl -e
4. Router Configuration (Port Forwarding)
Even if your firewall is open, many home routers block incoming connections by default. You need to port forward:
Log in to your router (usually at 192.168.0.1 or 192.168.1.1).
- Username/password is often on a sticker under the router.
Look for Port Forwarding / Virtual Server / NAT in settings.
Add a new rule:
Save & reboot router if needed.
---
✅ How to Test if It Works?
Start your Dogecoin full node and wait a few minutes.
Go to Settings -> Debug Window ->Information
Look in Number of Connections and check if it shows connections **In: ** and connections **Out: **, it can't be Zero, both have to be bigger than 0